
Set up two-factor authentication (2FA) on your BillBjorn account, and make sure you can always get back in.
Two-factor authentication adds a second step to signing in: after your password, you enter a 6-digit code from an authenticator app on your phone. The authenticator app is your primary sign-in method. A recovery phone number is your backup — if you ever lose your authenticator app, it's the only way to get back into your account without contacting support, so we strongly recommend adding one when you set up 2FA.
If you opened this article from the BillBjorn mobile app or from Scan2Invoice: that's expected. Setting up, changing, or recovering 2FA can only be done in a web browser. Keep reading — this article explains what to do next.
Set up 2FA (web browser required)
Sign in to BillBjorn using your web browser. In the top-left corner, click your company name, then select your name from the menu to view the user account information. You will find the relevant settings under the Security heading.
- Select Enable Two-Factor Authentication.
- Add your authenticator app. If you don't already have one, install Google Authenticator, Microsoft Authenticator, Authy, or 1Password on your phone. Scan the QR code shown (or enter the key manually), then enter the 6-digit code your app generates to confirm.
- Add a recovery phone number. Enter a mobile number and verify it with the SMS code you're sent. You can select Skip, but doing so means there's no way to recover your account yourself if you later lose your authenticator app — we recommend adding it now.
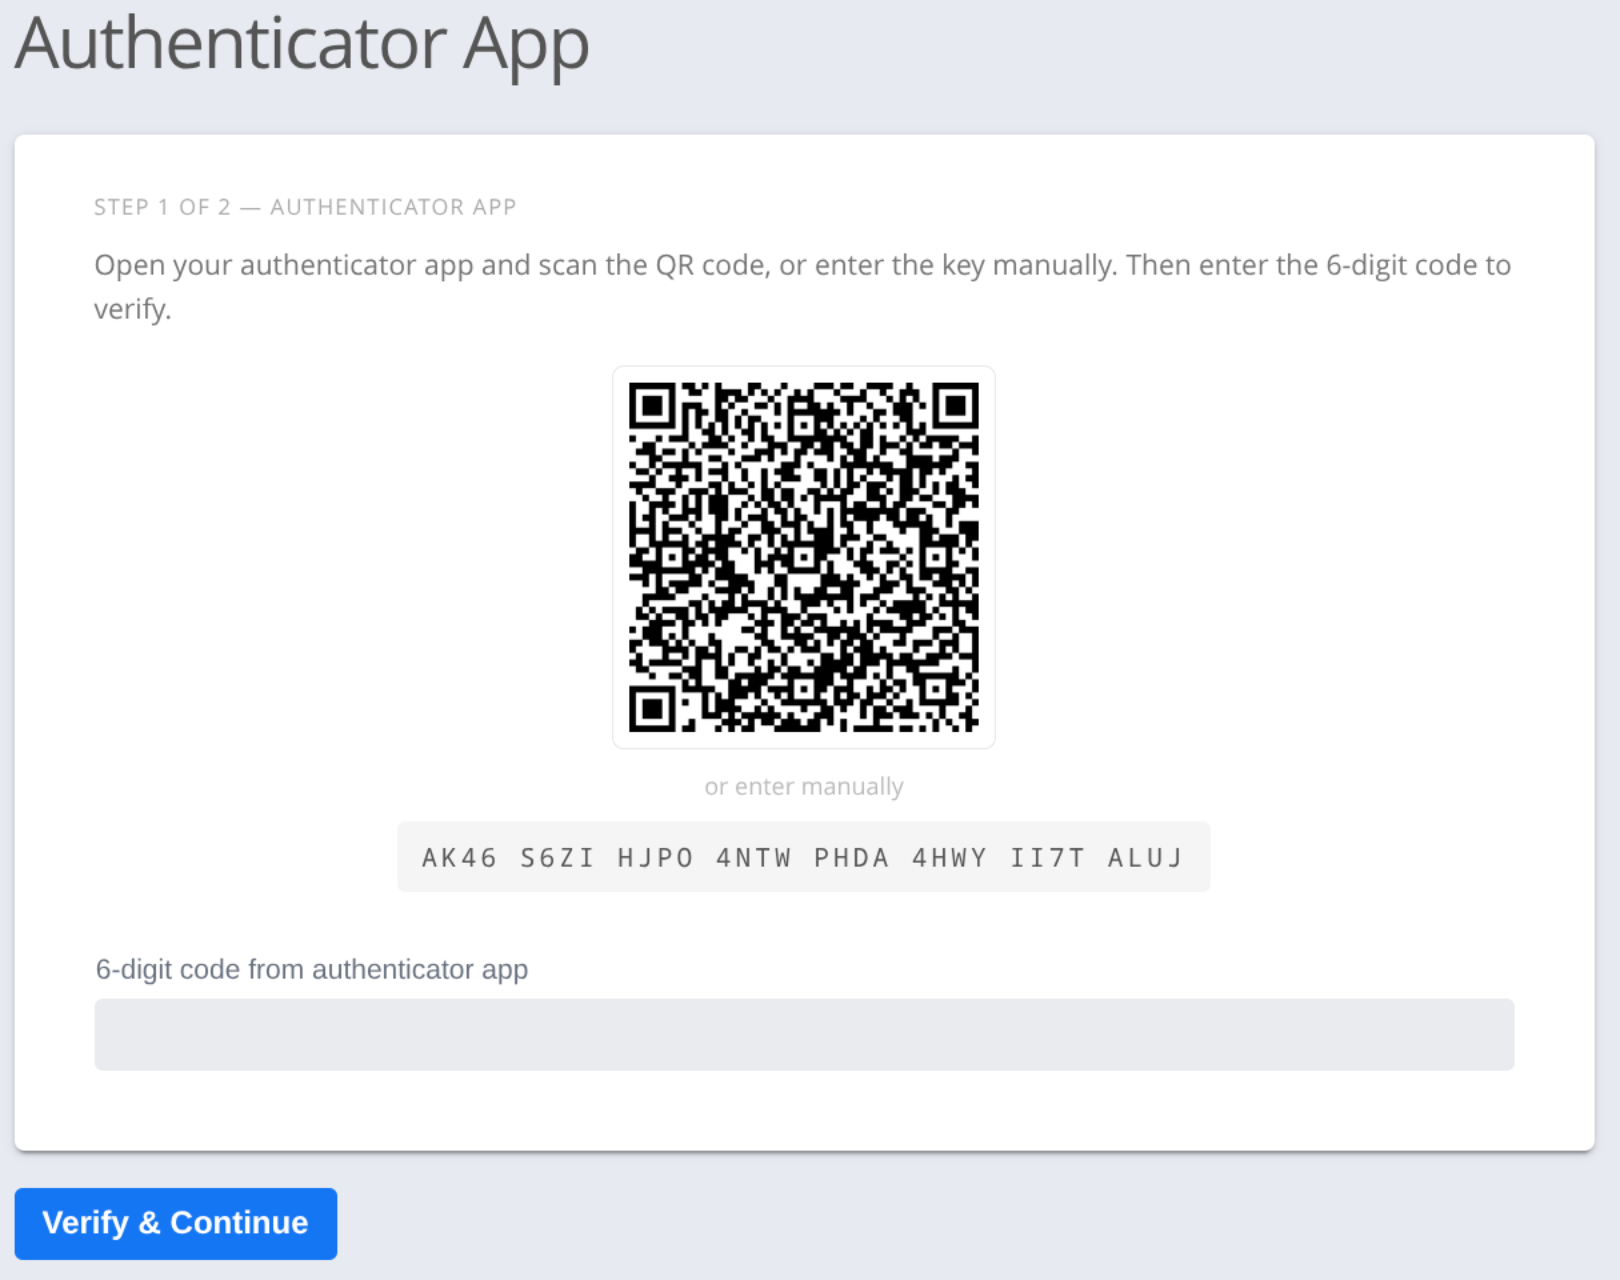
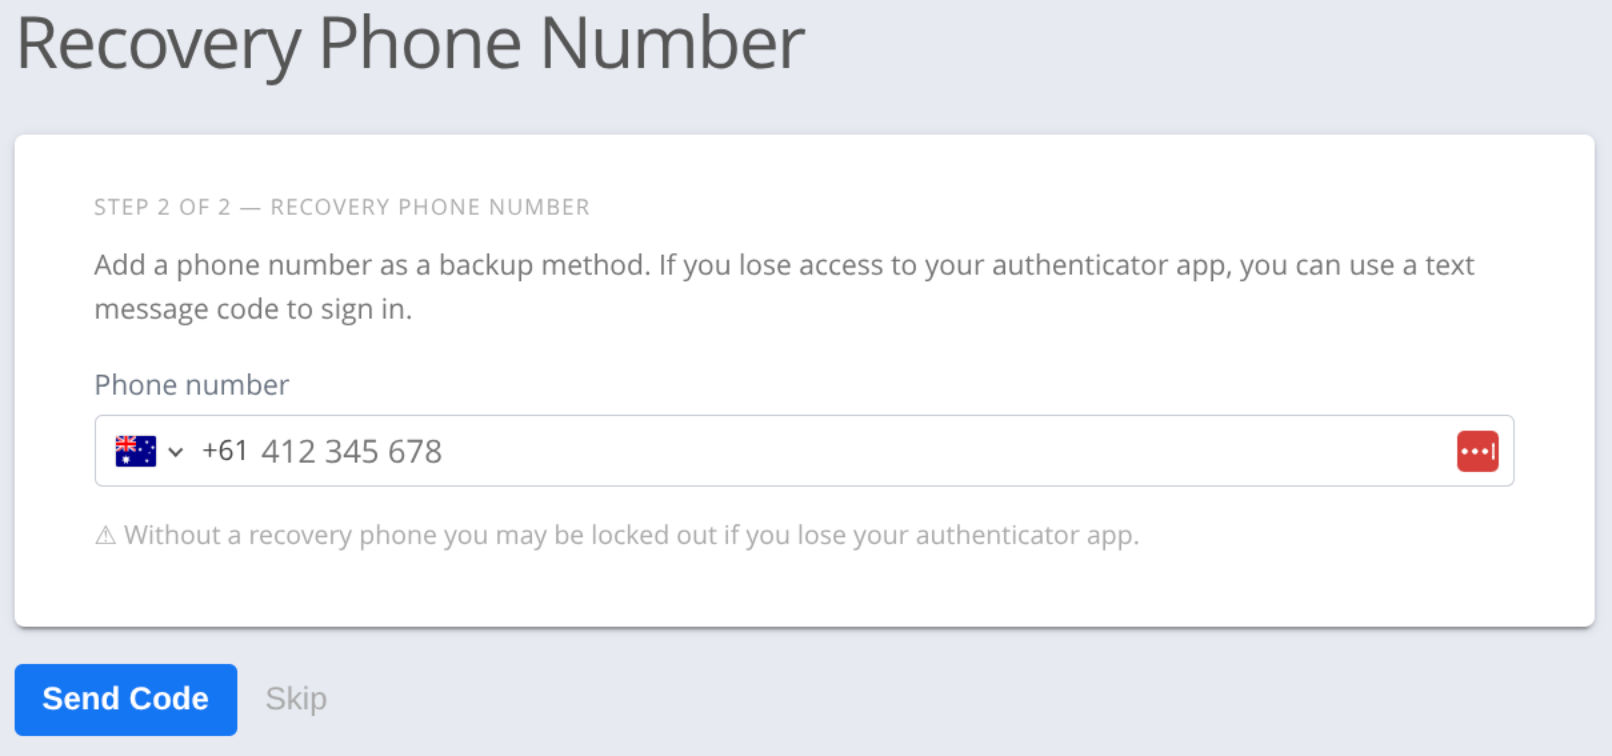
You can add, remove, or update either method later from Account → Security — you'll be asked to re-enter your password first, since these are sensitive changes.
Signing in
Once 2FA is on, every sign-in — on the web, the mobile app, or Scan2Invoice — asks for the current 6-digit code from your authenticator app. Enter it and it submits automatically. This step works exactly the same way on all three.
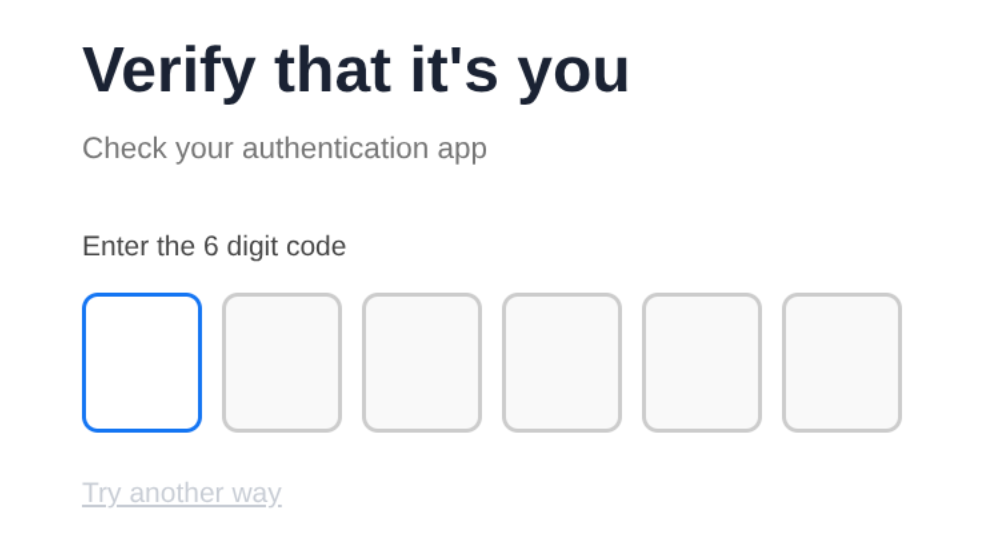
Code rejected? It's almost always a clock issue — authenticator codes are time-based. Make sure your phone's date and time are set to update automatically, then try the next code.
Lost your authenticator app?
If you set up a recovery phone number: sign in from a web browser, select Try another way on the code screen, and choose to receive a code by text message. Once you're in, go to Account → Security to remove the old authenticator app and add a new one.
If you didn't set up a recovery phone number: there's currently no self-service way back into your account. Contact BillBjorn support for help recovering access, and add a recovery phone number as soon as you're back in.
On the mobile app or Scan2Invoice, this screen will point you to sign in on the web instead — Scan2Invoice also has an Open web app to recover button that opens the sign-in page in your browser for you.
Good to know
- Add your recovery phone number right away — it's your safety net, and the only self-service way back in if you lose your authenticator app.
- Use an authenticator app that backs up to the cloud (Authy, 1Password) so replacing your phone doesn't lock you out.
- The mobile app and Scan2Invoice can be used to sign in with a 2FA code, but not to set up, change, or recover it — that always requires a web browser.
- Never share a 2FA code with anyone. BillBjorn support will never ask you for one.
- Sign in with Google, QuickBooks/Intuit, Xero, or FreshBooks single sign-on? This feature doesn't apply to you — set up multi-factor authentication with that provider instead.
Still stuck? Contact BillBjorn support and mention which step of this article you're on.